
Trees Hate You Chapter 1 Walkthrough: Picnic to Fall
A landmark-by-landmark Trees Hate You chapter 1 walkthrough: the swinging tree, gun trees, first checkpoint, stair log and the tree-for-fall finale.
Quick answer: Leave the picnic, bait the first swinging tree, wait out the gun trees, and take the stone descent to the first flag. After the flag, trigger the falling trunk before climbing the stairs, push the loose log as cover through the firing corridor, then cross the dirt ambush and the hollow log. The level ends at the tree-for-fall.
Start with the beginner guide→ or go straight to the walkthrough→ if you already know the route.
This page covers the first level of the free demo and the full game. If you have already reached the reversed arrow signs, you are in chapter 2→. If this is your first minute with the game, read the beginner rules→ first; they explain why baiting works.
Chapter 1 is the tutorial, but it is not a safe tutorial. It teaches four ideas in order: attacks have a wind-up, the environment can lie, checkpoints are real until they are not, and moving props can be used as cover. Every later level remixes those four ideas.
The June 19, 2026 update added a checkpoint near the end of level 1, just before the tree-for-fall. Older itch and browser builds may not have it. The route below assumes the current Steam build.
The picnic and the first sign
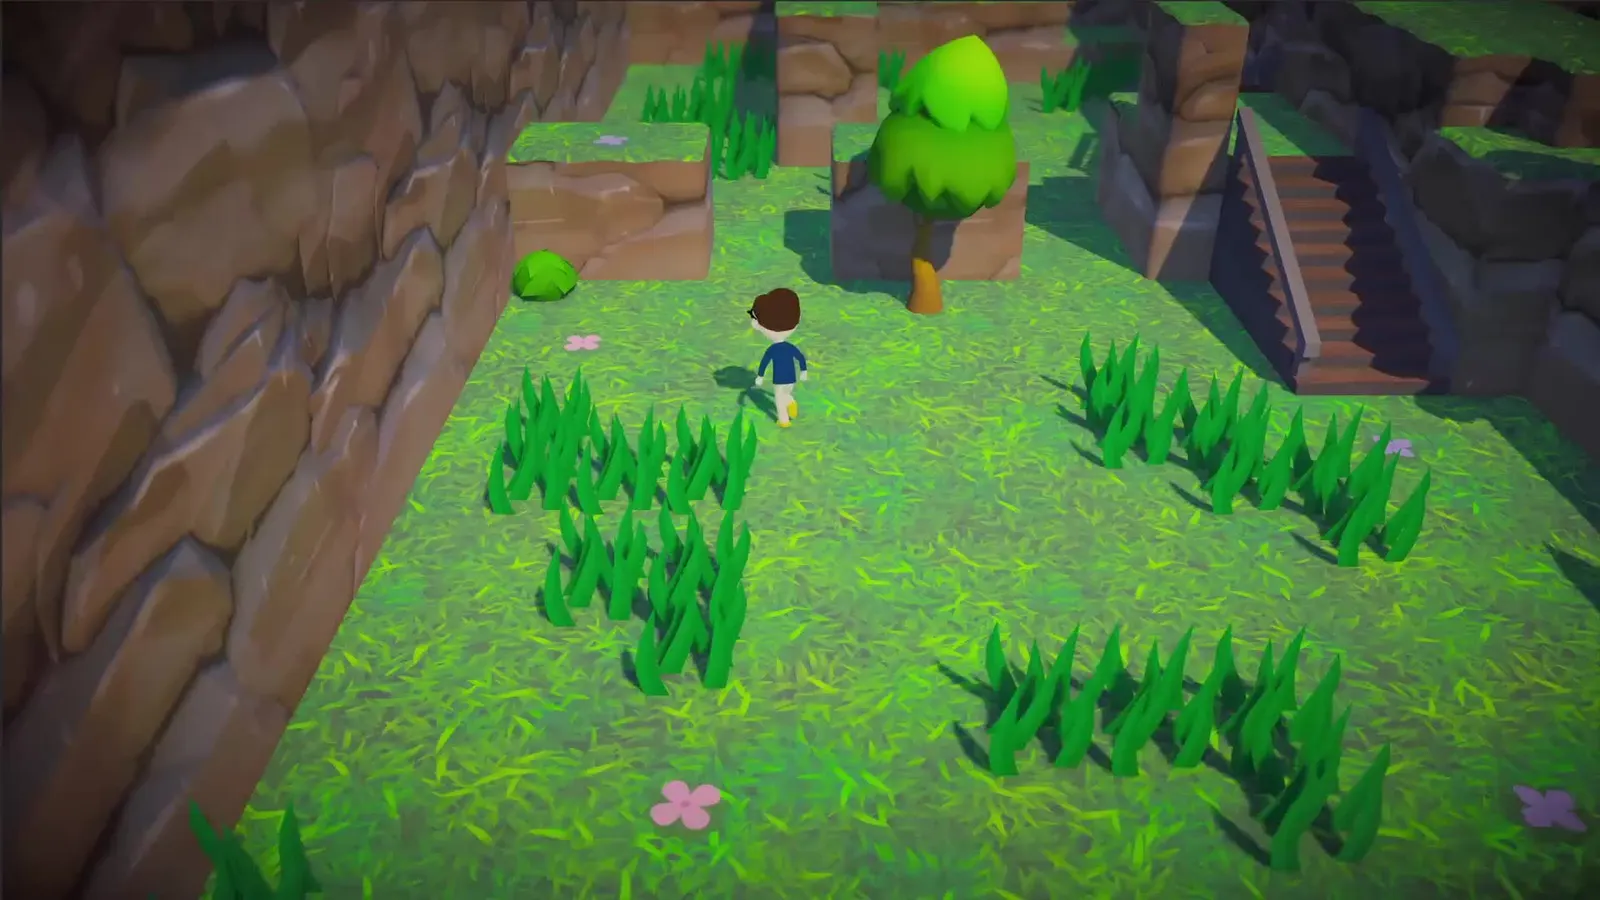
You start at a picnic blanket on a raised clearing. The first wooden sign says something like "Be sure to read every sign you see." Take the advice as a warning about the game's sense of humor, not as a promise that signs are helpful.
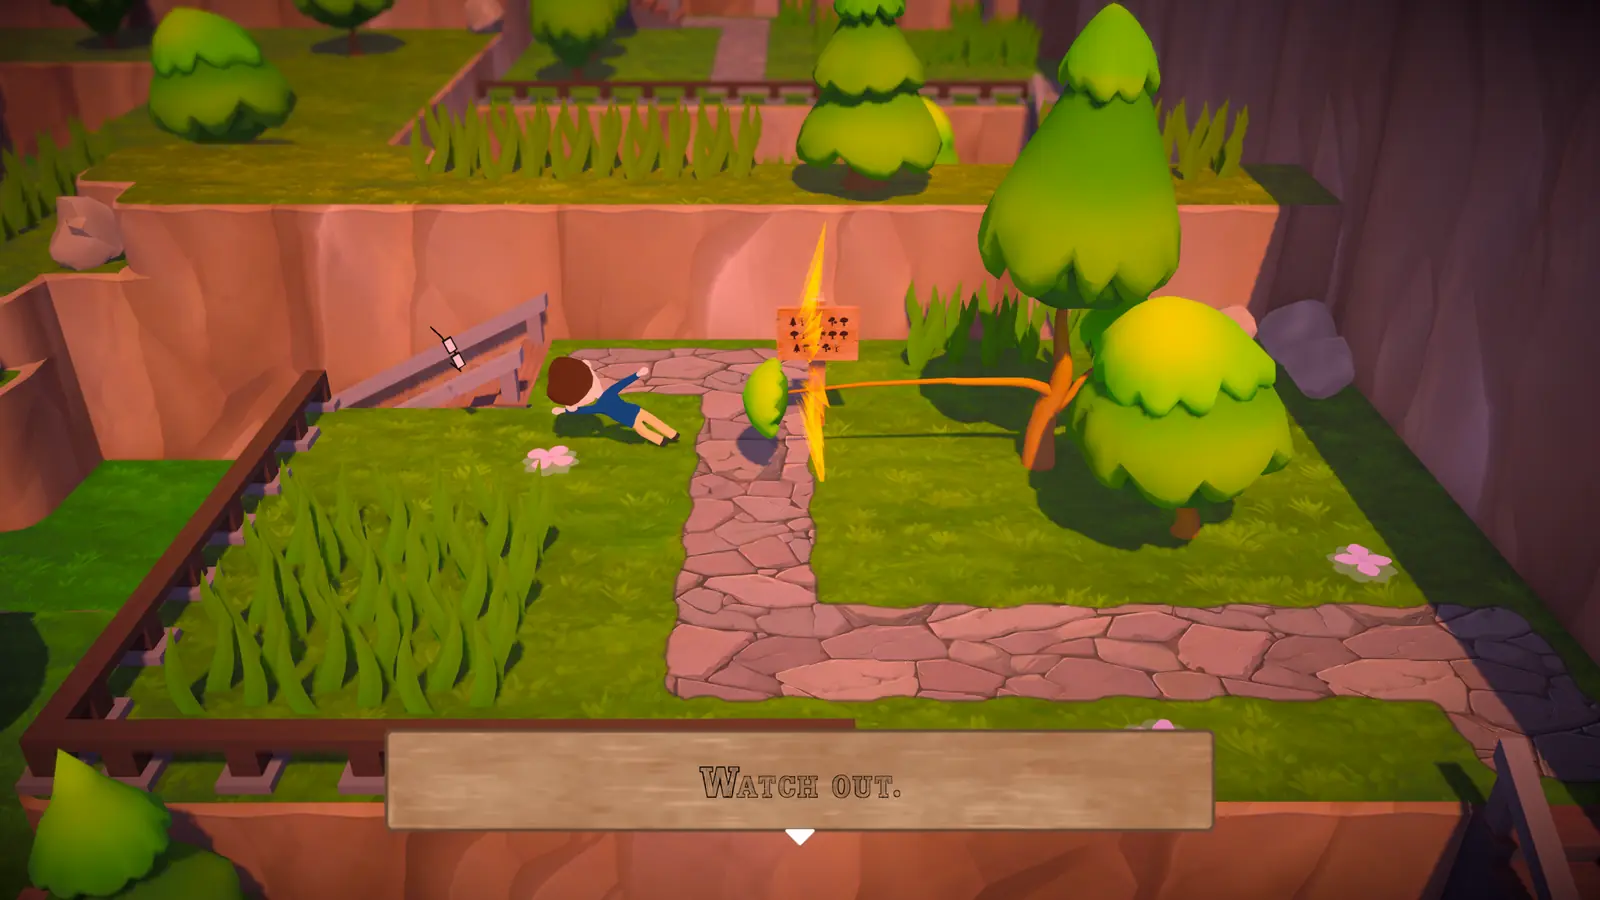
Walk down the trail. The first tree you meet is a broad, cartoonish tree with an arm-like branch. It swings when you get close. Do not try to run past during the swing. Stop at the edge of its reach, let it commit, then walk through the empty space while the branch is recovering. If you keep holding forward, you will arrive exactly when the branch does.
There is nothing to collect here. The picnic is a teaching room, and the only thing you can lose is time.
The first gun tree
Past the swinging tree, a tree holding a revolver steps into the path. It aims, fires and then needs a moment to reset. The shot travels in a straight line, so the safe move is lateral: step out of the lane, wait for the bang, then cross.
The next stretch adds two more gun trees, including one that turns. Treat the turning tree as a timing puzzle rather than a aiming puzzle. Watch which way the barrel is pointing, move when it is pointing away, and do not stop in the middle of the open ground.
If you hear a shot but do not see a muzzle, look up. Some later trees fire from elevated positions, and the sound is your only warning.
The stone descent and the first flag
After the gun trees, the path drops through a rocky cut. There is a side path here with a coin, and the main route continues down through a hollow. The first checkpoint flag stands at the bottom.
Touch the flag. In the current build, the flag lights and becomes your respawn point. This is also the first place where the game can trick you: a checkpoint that bends away from your hand or refuses to light is a fake. The first one is real.
From the flag, the route climbs a set of stone stairs. Before you climb, look up. A trunk is balanced above the steps. Touch the bottom step, back away, and let the trunk fall. Then climb over it. If you walk straight up, the trunk lands on you.
This is the first "moving prop as a tool" lesson. The trunk is not just an obstacle; once it has fallen, it is part of the floor. Later levels use the same idea with pushable logs and rolling spheres.
The firing corridor and the loose trunk
At the top of the stairs, the path narrows into a corridor with a gun tree at the far end. A loose trunk lies on the ground. Push it ahead of you as you advance. It will absorb the shot, and you can walk behind it.
Do not push it too fast. If the trunk rolls away from you, you lose your cover and have to cross the open lane. Short pushes, then a stop, then another push is safer than one long shove.
The corridor ends at a patch of discolored dirt. This is the second trap that punishes curiosity. The dirt is an ambush: a root or a tree erupts when you step on it. Stop at the edge, let it fire, then cross the disturbed ground.
The hollow log and the second flag
Beyond the dirt patch is a hollow log. It looks like a tunnel and is a tunnel, but the entrance is also a choke point. Before you enter, check the far end for a silhouette. If a tree is waiting, bait it from the near side, then walk through after it commits.
The second flag is past the log. Touch it. This is the checkpoint the June update added, and it exists specifically because the next gag is the level's hardest read.
Tree-for-fall: the level's final trap
The route opens into a wider clearing with a large tree at the far side. As you approach, the tree falls across the path. This is the "tree-for-fall" the developer names in the patch notes. It is not a boss and it does not chase you. It is a timing gate.
The safe approach is to walk toward the tree until it begins to lean, then stop and back up. The trunk falls into the space you would have occupied. Once it is down, climb over it and continue to the level exit.
If you are dying here repeatedly, the problem is usually speed. The trigger is close to the tree, and the fall is fast. Approach in short taps, not a full hold.
Chapter 1 checkpoint and trap table
| Order | Landmark | Trap | Safe approach |
|---|---|---|---|
| 1 | Picnic trail | Swinging branch | Bait from the edge, cross on recovery |
| 2 | Open path | Revolver tree | Step out of the firing lane |
| 3 | Rocky cut | Turning gun tree | Move when the barrel faces away |
| 4 | Bottom of the cut | First flag | Touch it; fakes bend or stay dark |
| 5 | Stone stairs | Falling trunk | Touch the bottom step, back off, climb |
| 6 | Corridor | Gun tree + loose trunk | Push the trunk as moving cover |
| 7 | Corridor end | Dirt ambush | Stop at the edge, let it fire, cross |
| 8 | Hollow log | Choke-point ambush | Bait the far end before entering |
| 9 | Clearing | Tree-for-fall | Approach until it leans, then retreat |
The early forest trap guide→ goes deeper on each of these, including the audio cue and the recovery window.
What carries into chapter 2
Chapter 2 starts with the reversed arrow signs. The game assumes you have learned three things by now:
- A sign can point you into a trap.
- A checkpoint can be fake.
- A moving object can be cover or a weapon.
If any of those still feel unfair, replay chapter 1 once. It is short, and the second pass is where the design clicks. The chapter 2 walkthrough→ picks up at the signs.
Official source: Steam update, June 19, 2026 ↗ — the added checkpoint before the tree-for-fall and the demo's death-counter options.
FAQ
How long is chapter 1? About 10 to 25 minutes for a blind run, depending on deaths and whether you take the coin side path. Speedrunners clear it much faster.
Can I miss the first checkpoint? No. It is on the main path. You can walk past it without touching it, but the route funnels you through it.
What happens if I die before the first flag? You restart at the beginning of the level. The opening is short, so the cost is low.
Is the falling trunk at the stairs random? No. It triggers when you approach the bottom step. The timing is consistent in the current build.
Why did the dirt patch not erupt? Normal mode can shuffle some hazards after a death. If the patch is inert, cross carefully and watch for a different trap nearby. Challenge Mode uses fixed placements.
Sources
- Trees Hate You demo on Steam ↗ — demo scope and features.
- Steam update, June 19, 2026 ↗ — checkpoint placement and demo changes.
- Official Tykenn FAQ ↗ — platforms and the no-multiplayer statement.
- Trees Hate You on Steam ↗ — full-game store page.