
Trees Hate You Chapter 2 Walkthrough: Signs and Road
A complete Trees Hate You chapter 2 walkthrough: reversed arrow signs, exploding apples, the rolling tree, the arcade and the demo's road ending.
Quick answer: Take the passage opposite the reversed arrow, keep moving under the exploding apples, and shelter from the rolling tree in a side recess. At the arcade clearing, touch the checkpoint before spending a coin, then follow the outer edge through the root field to the road. The truck and the white stairs are the demo's scripted ending.
Start with the chapter 1 walkthrough→ or go straight to the walkthrough→ if you already know the route.
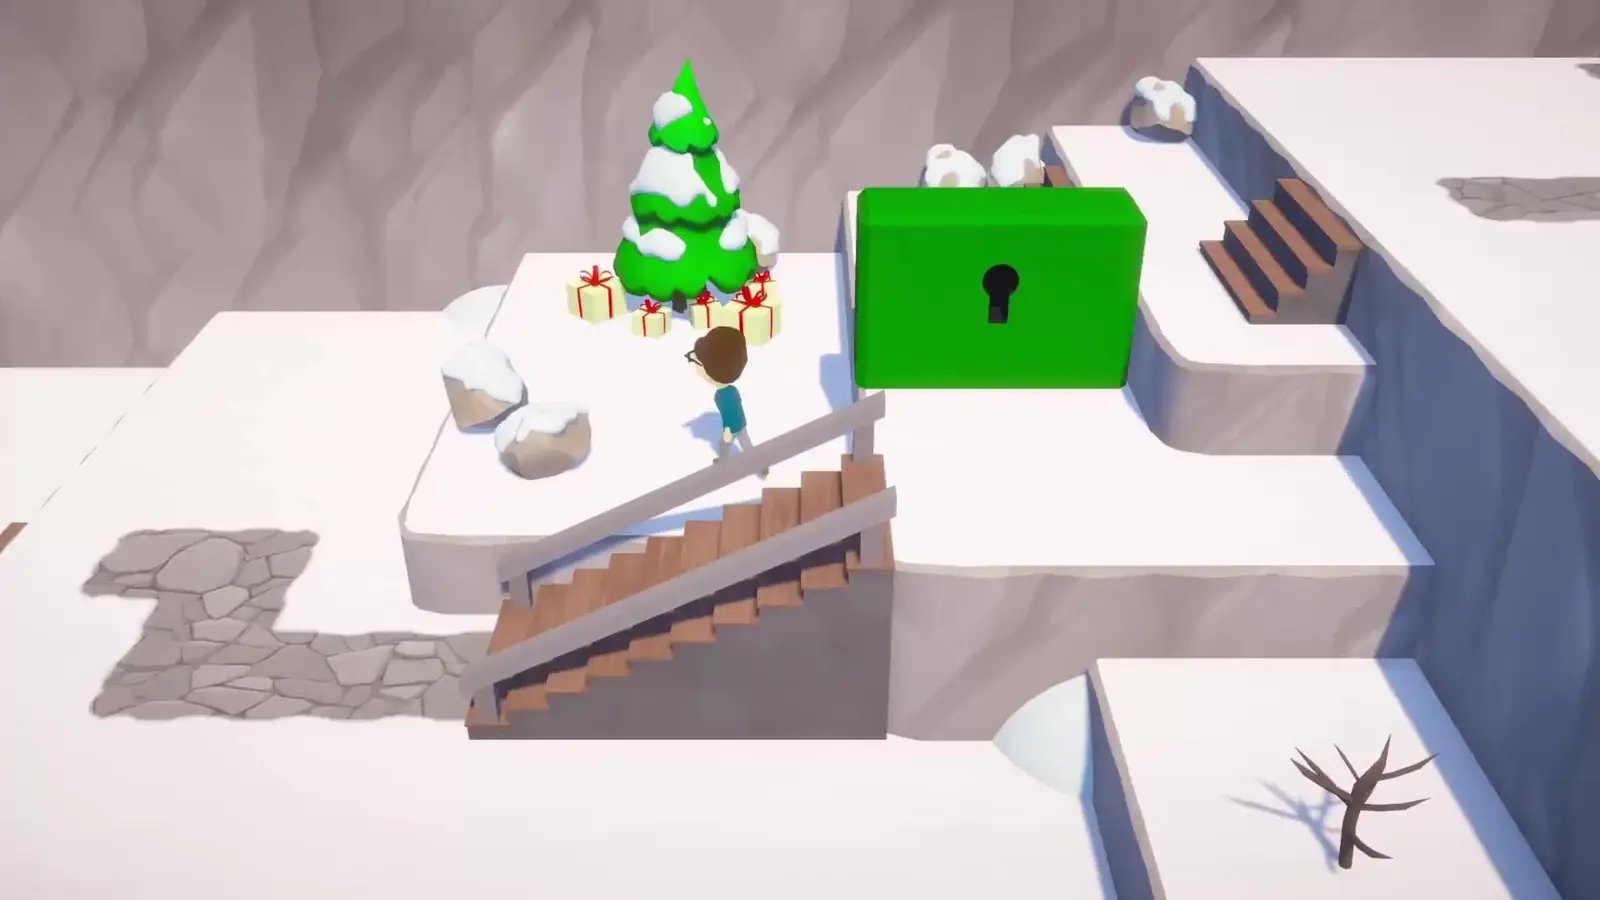
This is the second and final level of the demo. It starts after the tree-for-fall in chapter 1→ and ends with the transition into the heaven sequence. The full walkthrough→ explains where this sits in the 14-level campaign.
Chapter 2 is where the game stops teaching and starts testing. The traps are no longer isolated: a sign puzzle leads directly into an apple barrage, a rolling hazard pushes you toward a checkpoint, and the arcade sits in the middle of a combat-free clearing as a deliberate distraction.
This page describes the demo's final sequence, including the truck gag and the white stairs. It does not claim to explain the full game's ending. The endings page→ handles that separately.
The reversed arrow signs
The level opens with a cluster of signs and a fork. The signs point one way. The correct route is the other way. This is not a subtle clue: the game wants you to notice that the arrow is new, clean and suspiciously helpful.
Take the passage opposite the arrow. If you follow the signs, you walk into a dead-end trap or a loop that returns you to the same clearing. The wrong path is not always lethal; sometimes it just wastes a minute and makes you doubt the next sign.
Use this as your rule for the rest of the level: the sign tells you where the danger is, not where the exit is. A sign that says "this way" is more likely to be a trap than a sign that says nothing.
The exploding apples
Past the signs, the path runs under a row of trees with red apples. The apples drop and explode. The safe route is to keep moving across the gaps and not stop under a canopy.
There is a rhythm to it. The apples do not all fall at once; they drop in sequence as you pass. If you stop to look, you will be standing under the next one. Walk in a steady line, use the gaps between trees, and do not backtrack for a coin unless you have already learned the pattern.
If you hear a soft pop before an apple lands, that is the cue. The explosion has a short radius, so a single step to the side is often enough.
The wanted poster and the chest side path
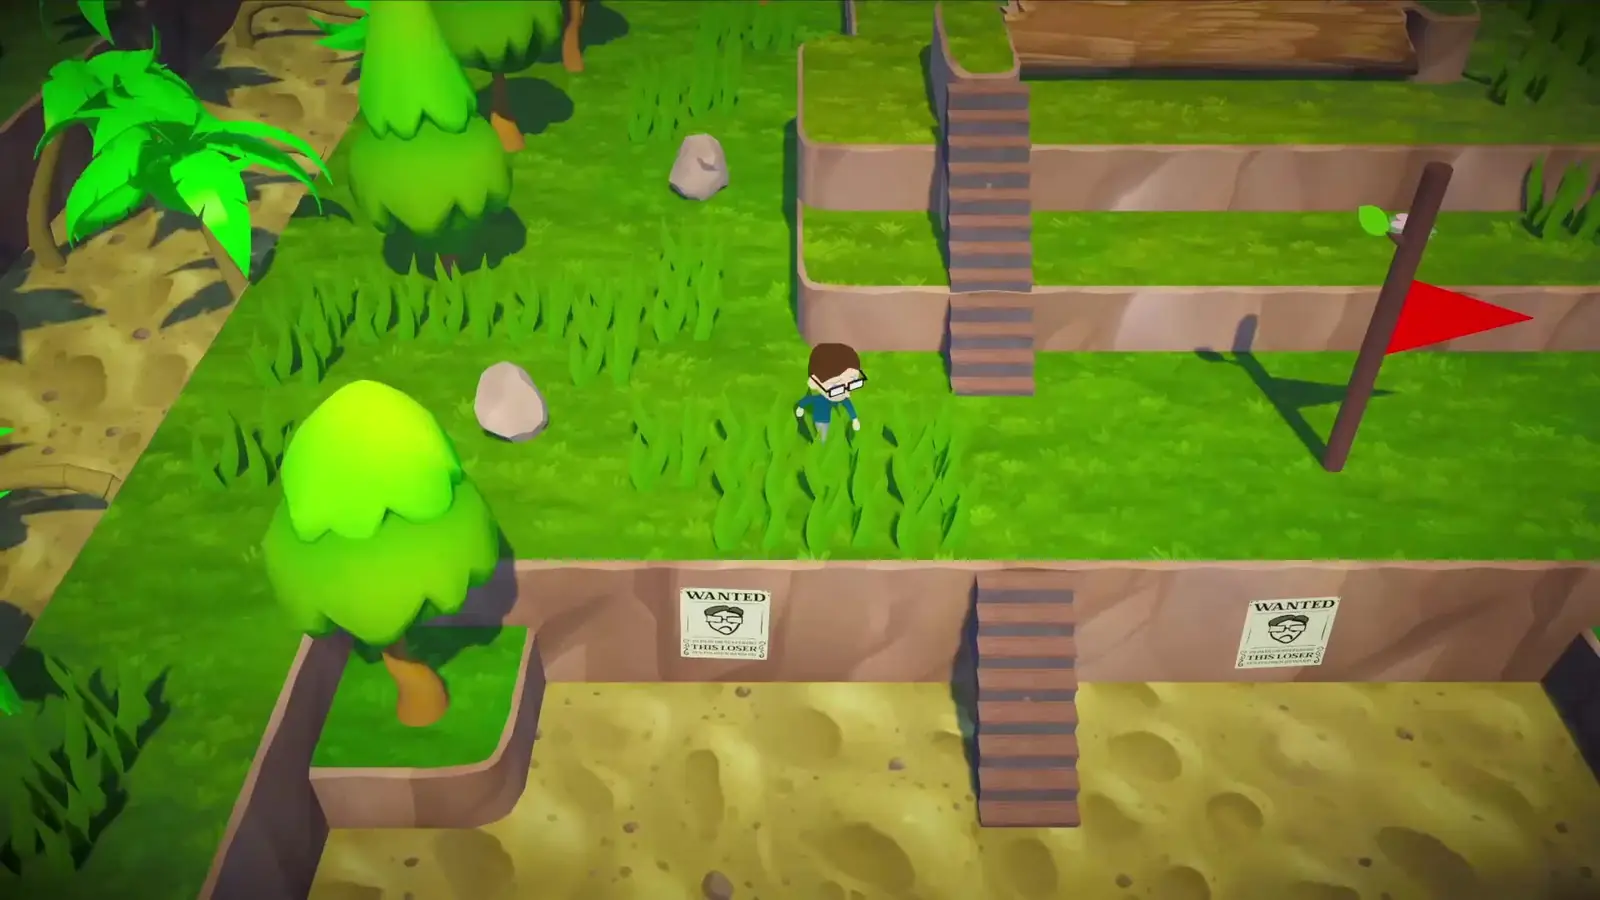
After the apples, the main trail passes a wanted poster and a branching side path with a chest. The chest contains a hat, and the hat is not guaranteed to survive. A tree can steal it, tear it up or knock it off your head.
For a first clear, stay on the main trail. The chest detour adds a minute and a risk without helping you finish. Come back after you have the checkpoint, or after you clear the game and can approach it with less pressure.
The hats guide→ explains which hats are creation options, which are found in the world, and how the thief works.
The rolling tree sphere
The path narrows into a slope with a large spherical tangle of roots and branches at the top. When you approach, it rolls toward you. You cannot outrun it in a straight line.
Look for a side recess in the wall. Step into it, let the sphere pass, then continue. If you try to dodge to the side of the path without a recess, the sphere's width will still catch you.
This is the first hazard that requires you to use the level geometry rather than a timing window. The recess is visible before the sphere triggers, so scan the walls as you approach.
The arcade clearing
The sphere ends near a flat clearing with an arcade cabinet and a checkpoint. Touch the checkpoint first. The cabinet costs one coin and, according to the community reports and the achievement list, can kill you. Do not spend your only coin before you have a save.
The cabinet is optional. It plays a short arcade song, tracks a high score and has achievements tied to reaching the end of the song and wasting every coin on it. The arcade guide→ covers the song, the scores and the fastest way to clean up those achievements.
If you have no coin, continue. The arcade is not a gate.
The root field and the pursuing tree
Past the arcade, the path becomes a root field. Thick roots cross the ground, and a tree follows you. The roots trip you; the pursuer does not need to catch you if you fall.
Follow the outer margin. The center of the field is a tangle of trip roots, and the pursuer's path cuts through it. Staying near the edge gives you a cleaner line and a little more distance.
Do not stop to fight the pursuer. There is no combat. Keep moving until the ground changes to pavement.
The road and the truck
The root field ends at a paved road. This looks like the exit. It is the demo's final joke. A truck driven by a tree hits you as you step onto the road.
This is scripted. You cannot dodge it, and it is not a missed checkpoint or a bug. After the hit, the game transitions to a white staircase.
The white stairs and the winged tree
Climb the stairs. At the top, a large winged tree entity appears and strikes you. This is the demo's closing set piece. It is not a fight with a health bar, and there is no strategy beyond walking forward and watching the scene.
The demo ends there. The full game continues into the remaining worlds. If you are trying to understand what the scene means, the endings page→ separates confirmed story beats from community theories.
Chapter 2 trap table
| Landmark | Trap | Tell | Safe approach |
|---|---|---|---|
| Fork | Reversed arrow | Sign points to a dead end | Take the opposite passage |
| Apple row | Exploding apples | Soft pop, falling fruit | Keep moving across gaps |
| Side path | Hat thief | Chest is too easy to reach | Skip on a first clear |
| Slope | Rolling tree | Rumble, sphere shifts | Step into the wall recess |
| Clearing | Arcade | Cabinet asks for a coin | Save first, play later |
| Root field | Tripping roots + pursuer | Roots cross the path | Follow the outer margin |
| Road | Scripted truck | Pavement and a clear exit | Unavoidable; it is the ending |
The midgame trap guide→ covers these hazards in more detail, including the difference between the fake checkpoint and the real one.
Should you play Challenge Mode after this?
Yes, if you enjoyed the demo. Clearing chapter 2 unlocks Challenge Mode, which starts with all traps active, keeps layouts fixed and uses a fixed seed for random events. It is shorter, denser and better for practice. The challenge mode guide→ explains the unlock and the rule changes.
If you are undecided about the full game, the demo ends at a natural stopping point. The demo vs full game page→ lists exactly what you have not seen yet.
Official source: Trees Hate You demo on Steam ↗ — the demo's scope, features and free availability.
FAQ
How long is chapter 2? About 10 to 20 minutes for a blind run. The arcade and the chest detour can add time.
Is the truck avoidable? No. It is a scripted ending gag. If you see the road and the truck, you are at the end of the demo.
Can I go back for the chest after the checkpoint? Yes, until you cross into the road sequence. The checkpoint is before the root field, so the walk back is short.
Does the arcade give anything useful? It gives high scores and achievements. There is no documented gameplay upgrade.
Is the winged tree the final boss? It is the demo's closing encounter. The full game has its own final boss, and the two are not confirmed to be the same entity.
Sources
- Trees Hate You demo on Steam ↗ — demo content and features.
- Steam achievements ↗ — arcade, checkpoint and ending-related achievements.
- Official Tykenn FAQ ↗ — platforms, streaming policy and no-multiplayer statement.
- Trees Hate You on Steam ↗ — full-game store page.