
Trees Hate You Late-Game Walkthrough: Winter to Heaven
How the back half of Trees Hate You works: winter presents, the desert Sisyphus section, the Loser Woods, heaven and the final boss.
Quick answer: After the demo's first chapter, the game moves through winter, desert, the Loser Woods and heaven before the final boss. There are no official level names for most of it, so route by landmark: snow and presents, the boulder and pressure plate, the dead-end forest, the white stairs, then the winged tree.
Start with the walkthrough→ or go straight to the late game traps→ if you already know the route.
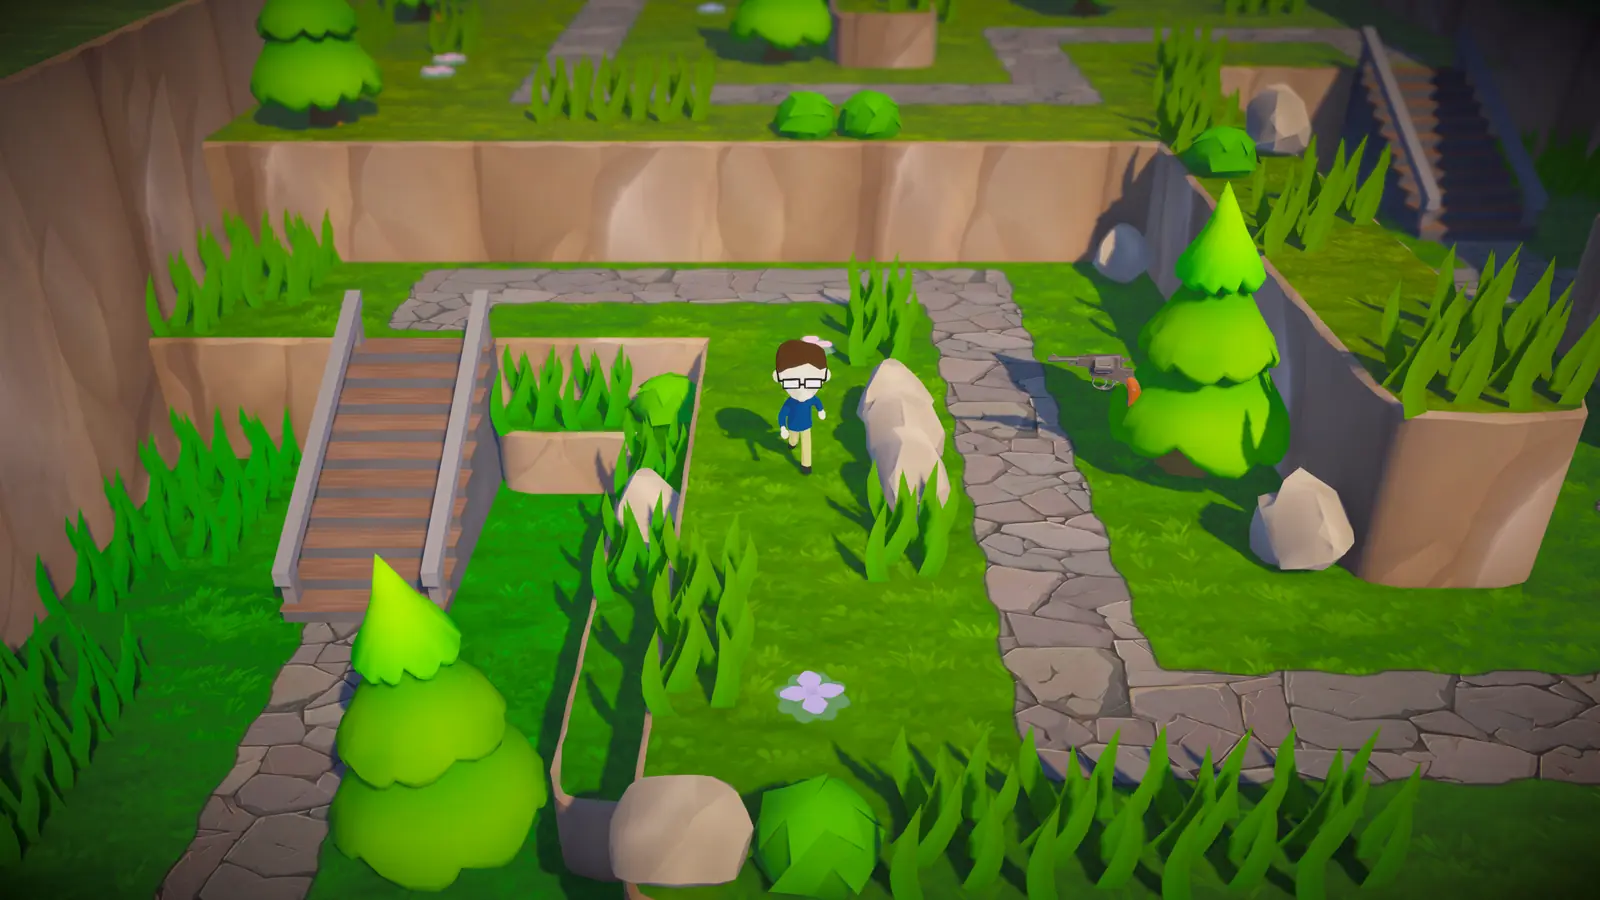
This page covers the back half of the 14-level campaign. It assumes you have finished the demo or at least read the chapter 2 walkthrough→. For the full structural overview, start with the walkthrough hub→.
The late game is where Trees Hate You stops being a series of isolated jokes and starts combining them. A winter present chase can push you into a swinging palm; a desert pressure plate can summon a rolling log while a cactus steals your only tool. The traps are still readable, but the recovery windows get shorter.
Tykenn has confirmed 14 levels, four worlds, the winter/desert/autumn/beach biomes and the heaven area. The exact order of the last four levels is not published. This page describes the sections in the order the official material and launch reviews present them, and flags anything that is community-reported.
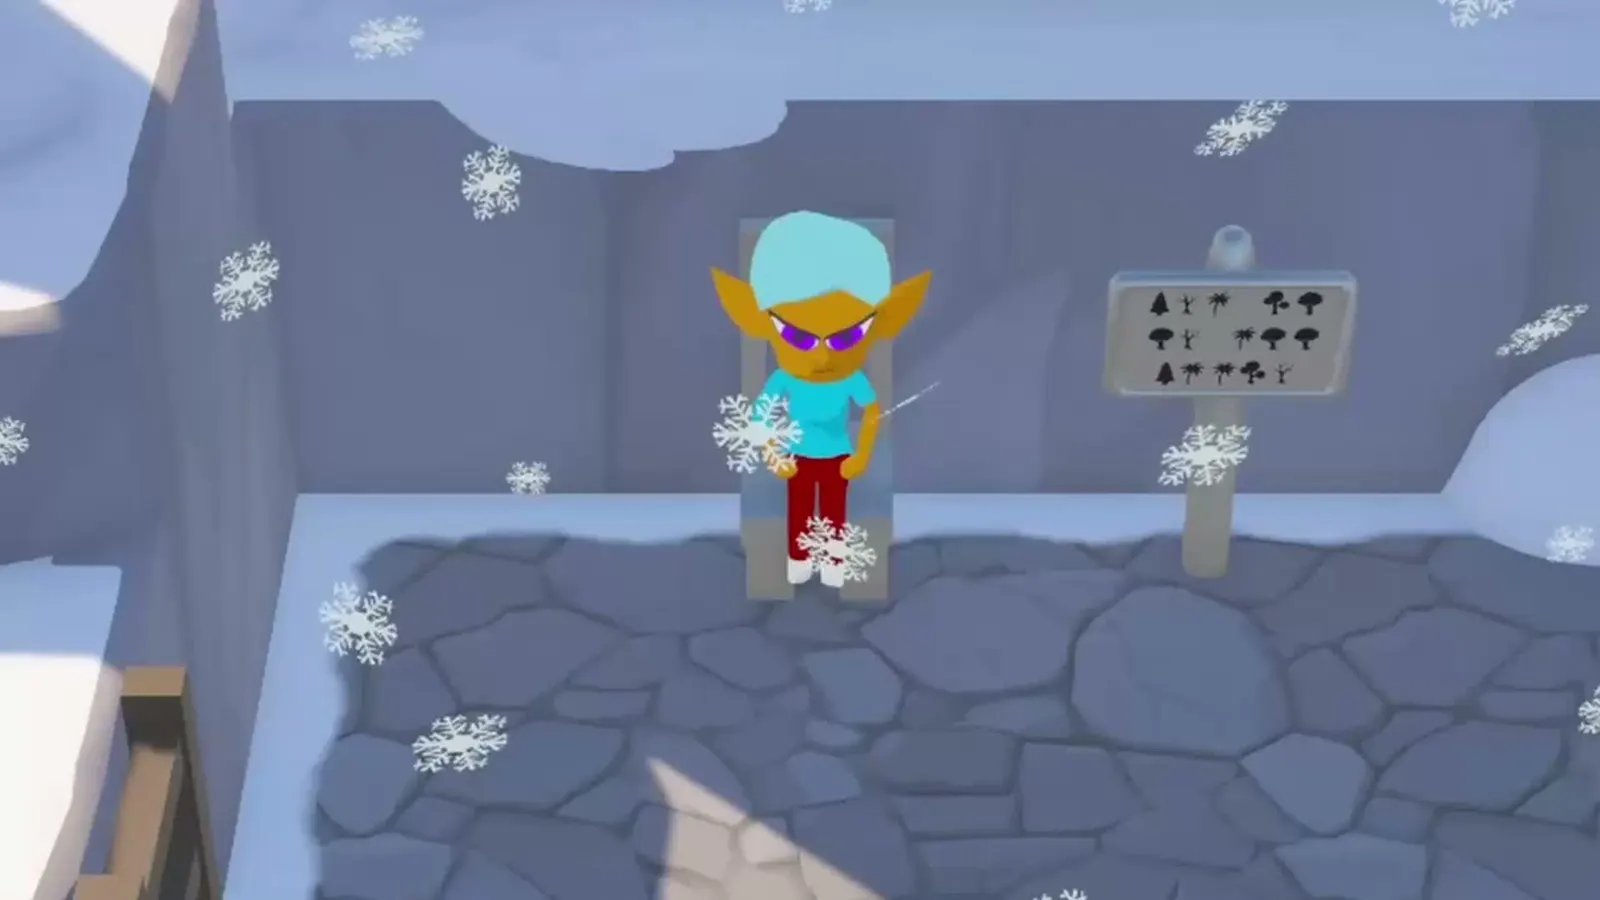
Winter: presents that chase you
The winter section is the most heavily previewed part of the late game. Official clips show:
- A snowfield with candy canes, a red flag and a decorated Christmas tree.
- A present that flashes, beeps and chases the player before exploding.
- A snowman that reveals itself to be a tree and blocks the path.
- A tree that knocks you down while you are wearing a helmet; you survive the first hit, then lose the helmet and die to the second.
The route is linear, but the presents change the timing. Do not treat a present as scenery. If it starts blinking, move away from the direction you came from, not toward the next checkpoint. The explosion has a short radius, and the chase is slower than your walk.
The helmet gag is tied to the HELMETDIE achievement. If you are hunting achievements, this is one of the places to do it deliberately. The achievements guide→ has the exact condition.
The desert and the Sisyphus section
The desert stretch is built around a boulder or a thorn ball, a pressure plate and a cave door. The official clips show the player rolling the ball onto the plate, only for a cactus to push it off. A later version adds a rolling log that knocks the player away from the boulder.
There is no combat solution. The section is a physics puzzle with a punchline. The practical approach:
- Clear the lane before you push. The cactus and the log are triggered by proximity, not by the boulder.
- Push in short bursts. The boulder accelerates and is hard to steer once it is moving.
- Expect the sabotage. The first successful plate press is usually undone. The real solution involves using the cactus's push or the log's momentum rather than fighting it.
If the boulder falls into a pit or gets stuck, walk back to the checkpoint. The section resets.
The Loser Woods and the dead ends
The Loser Woods is named by the DEADEND achievement: "Find a dead end in the Loser Woods." That is the only official name for the area. It is a dense forest with root ambushes, false paths and at least one dead end that exists purely to waste your time.
This is the section where the "signs lie" rule matters most. The route through the woods is not the widest path. Look for the path with the fewest helpful signs. If a trail is marked with arrows, lights or a clean fence, assume it is a trap until proven otherwise.
The roots here are active. They trip you, and a fall can leave you open to a follow-up. Keep your camera low and watch the ground seams. The late-game trap guide→ lists the root and dead-end traps in more detail.
Palm alleys and coconut projectiles
Somewhere in the beach or palm section, the palm trees stop being scenery. They swing their trunks across the path and launch coconuts that bounce before hitting you. The PALMTREEALLEY achievement is tied to dying from pines in Palm Tree Alley, which tells you the area exists and that the game expects you to die there.
The coconuts are the tricky part. They bounce, so the first impact point is not the danger zone. Watch the arc, not the tree. If you hear a hollow knock, a coconut is already in motion.
The swinging trunks are a timing gate. The trunk sweeps a fixed arc, so the safe space is behind the tree, not in front of it. Wait for the sweep, then move through the space it just vacated.
Heaven and the axe
The white staircase from the demo's ending leads to heaven. This is the only area where the axe is confirmed to be usable in the base game: the CHOPEVERYTHING achievement requires you to "chop down every tree in heaven."
That does not mean the axe is a normal weapon everywhere. The demo never gives you one, the store page only teases it, and the popular mod that turns trees into cowards is not the base game. Treat heaven as the axe's confirmed playground, not as proof of a full combat system.
The axe guide→ collects every official appearance and explains what is still unknown.
The final boss
Launch reviews describe a final boss that is creative, visually busy and somewhat luck-based. One reviewer specifically warned about hazards spawning under the player and visual clutter making mistakes hard to read. That matches the game's design: the boss is a trap set piece, not a skill check with a health bar.
There is no confirmed official name for the boss in the material available at launch. The winged tree entity from the demo's closing scene is the closest visual reference, but the full game's final encounter is not confirmed to be the same character.
Practical advice:
- Keep moving along the outer edge. The center of the arena is where the clutter is worst.
- Watch the floor, not the boss. Spawned hazards are the actual threat.
- Do not greed for a hit. There is no hit to greed for; the encounter is about surviving the sequence.
- Use the checkpoint. If you die, the retry is short. Learn one phase at a time.
The endings page→ explains what happens after the boss and what the story is actually about.
Late-game checklist
| Section | Main hazard | What to practice |
|---|---|---|
| Winter | Chasing presents, fake snowman | Move away from the blink, not forward |
| Desert | Boulder, cactus, rolling log | Clear the lane before pushing |
| Loser Woods | Roots, dead ends, false paths | Take the least helpful-looking trail |
| Palm alley | Swinging trunks, bouncing coconuts | Watch the arc, not the tree |
| Heaven | Axe trees, white stairs | Chop everything; the achievement is literal |
| Final boss | Spawned hazards, visual clutter | Stay on the edge, watch the floor |
Official source: Official launch press release ↗ — 14 levels, biome list and the trap examples used in this page.
FAQ
How many levels are left after the demo? The full game has 14 levels. The demo covers the first chapter, so the majority of the campaign is still ahead.
Is the winter section mandatory? Yes. It is one of the four worlds, not a seasonal side mode.
Can you use the axe outside heaven? Not in the base game as documented. The axe is a story tease and a heaven tool. Mods are a separate thing.
Is the final boss hard? It is more chaotic than difficult. Reviews describe it as luck-based because of spawn positions and visual clutter.
Does the ending have multiple branches? The game has one ending. Some achievements and secrets change what you see on the way, but there is no documented branching finale.
Sources
- Official launch press release ↗ — level count and biome names.
- DualShockers review ↗ — final boss impressions and campaign length.
- Steam achievements ↗ — Palm Tree Alley, Loser Woods and CHOPEVERYTHING.
- Official Tykenn FAQ ↗ — platforms and content policy.