
Trees Hate You Early Forest Traps: Tells and Safe Counters
The first level's traps, one by one: swinging branches, gun trees, falling trunks, dirt ambushes and the tree-for-fall, with tells and counters.
Quick answer: The opening level teaches five traps: a swinging branch, gun trees, a falling trunk on the stairs, a dirt ambush and the tree-for-fall. Each has a wind-up you can see or hear, and a recovery window you can walk through. Stop at the edge, bait the commit, then cross.
This page is the detailed companion to the chapter 1 walkthrough→. The walkthrough tells you where to go; this page tells you why each trap kills you and how to practice it. For the full taxonomy, see the trap encyclopedia→.
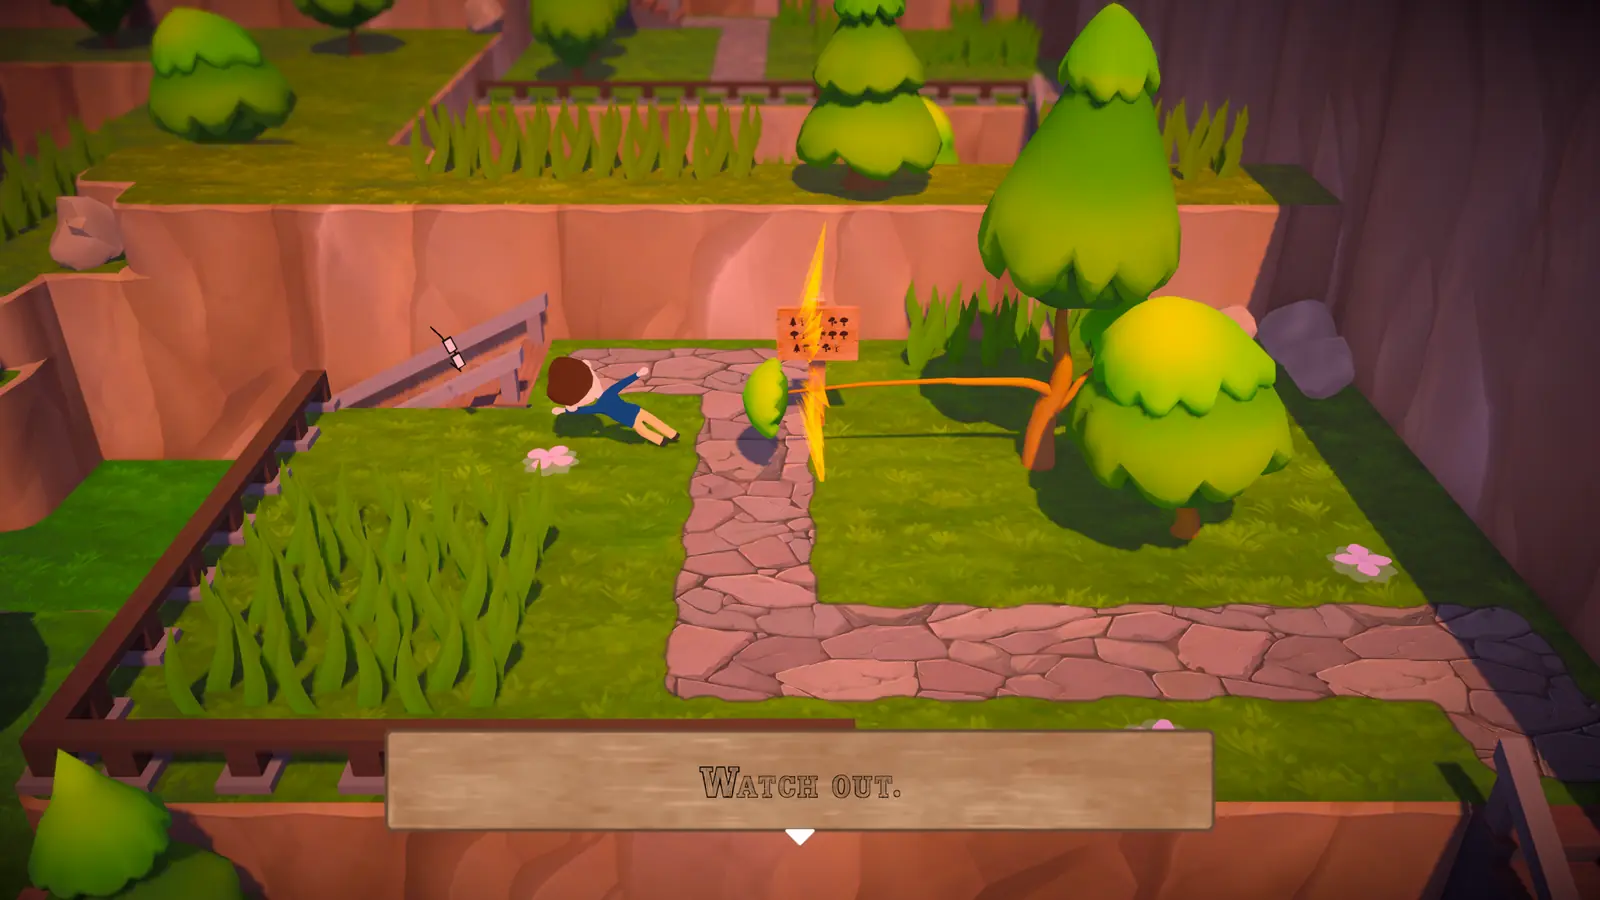
The early forest is not the hardest part of Trees Hate You. It is the most important part, because it establishes the visual language the rest of the game uses: a lean, a pause, a sound, a patch of ground that does not match its neighbors.
The windows below are practical estimates from the launch build, not frame data. Normal mode can shuffle some hazard positions after a death, so use the tells rather than memorized distances.
How to read a trap in this game
Every trap in the opening level follows the same three-beat structure:
- Wind-up. The tree leans, the barrel turns, the ground discolors or the trunk shifts.
- Commit. The attack occupies a fixed space for a fixed time.
- Recovery. The trap is inert and the safe path opens.
Most deaths happen in beat two because the player moved during the wind-up and arrived at the danger zone exactly on time. The counter is to move after the commit, not before it.
There is also an audio layer. The gun trees have a mechanical click before firing, the apples pop, the trunk on the stairs scrapes, and the tree-for-fall creaks. If you play with headphones, the tells arrive earlier than the visuals.
Trap 1: the swinging branch
Where: The first tree on the picnic trail. Tell: The trunk leans away from you and the branch draws back. Hitbox: A wide arc in front of the tree, roughly two body lengths. Recovery: About one second after the branch passes its lowest point.
Walk toward the tree until the lean starts, then stop just outside the arc. The branch swings through the space ahead of you, hits the ground and hangs there. Walk through while it is down. Do not try to run behind the tree; the arc wraps around the trunk more than it looks.
If you are dying here, you are probably holding forward from the picnic. Release the stick earlier than feels natural.
Trap 2: the revolver tree
Where: The open path after the swing tree. Tell: The tree raises the gun and the barrel tracks you. Hitbox: A straight line from the muzzle. Recovery: A short reload pause after each shot.
The mistake is to dodge early. The tree tracks you during the aim, so a dodge before the shot is wasted. Wait for the barrel to stop moving, then step laterally. The shot goes where you were, not where you are.
The second gun tree turns between lanes. Treat it like a turret with a fixed sweep: move when the barrel is at the far end of its arc, not when it is pointing at you.
Trap 3: the falling trunk on the stairs
Where: The stone stairs after the first checkpoint. Tell: A trunk is visibly balanced above the steps; dust or a small shift as you approach. Hitbox: The full width of the staircase. Recovery: The trunk settles and becomes climbable.
Touch the bottom step, then back away. The trunk falls into the space you occupied. Climb over it and continue. If you walk straight up, you will be under it when it lands.
This trap is also a tutorial for moving props. The fallen trunk is now part of the level. You can stand on it, and it blocks nothing important. Later levels expect you to use fallen objects the same way.
Trap 4: the dirt ambush
Where: The corridor after the firing section. Tell: A patch of ground is a different color and texture from the path around it. Hitbox: The patch itself, plus a short eruption radius. Recovery: The root or tree retracts after the strike.
Stop at the edge of the patch. Let it fire. Cross after it retracts. If the patch stays inert, the layout may have shuffled; cross carefully and watch for a different trap nearby.
The discolored-ground tell is reused constantly in the later worlds, including the collapsing path and the root field. Learn it here.
Trap 5: the hollow log ambush
Where: The tunnel after the dirt patch, before the second checkpoint. Tell: A silhouette or movement at the far end; the log is a natural choke point. Hitbox: The exit of the log. Recovery: The ambusher commits to one side.
Bait from the near side. Step into the log, then back out. If something moves at the far end, wait for it to commit, then walk through the side it vacated. If nothing moves, cross quickly; the trap may be behind you rather than ahead.
Trap 6: the tree-for-fall
Where: The clearing before the level exit. Tell: The large tree at the far side creaks and begins to lean as you approach. Hitbox: The full length of the falling trunk. Recovery: The trunk settles across the path and becomes climbable.
Walk toward the tree in short taps. When the lean starts, stop and back up. The trunk falls into the space ahead of you. Climb over it and continue.
The June 19, 2026 update added a checkpoint immediately before this trap. If you are on an older build, you may have to repeat the hollow log after a death.
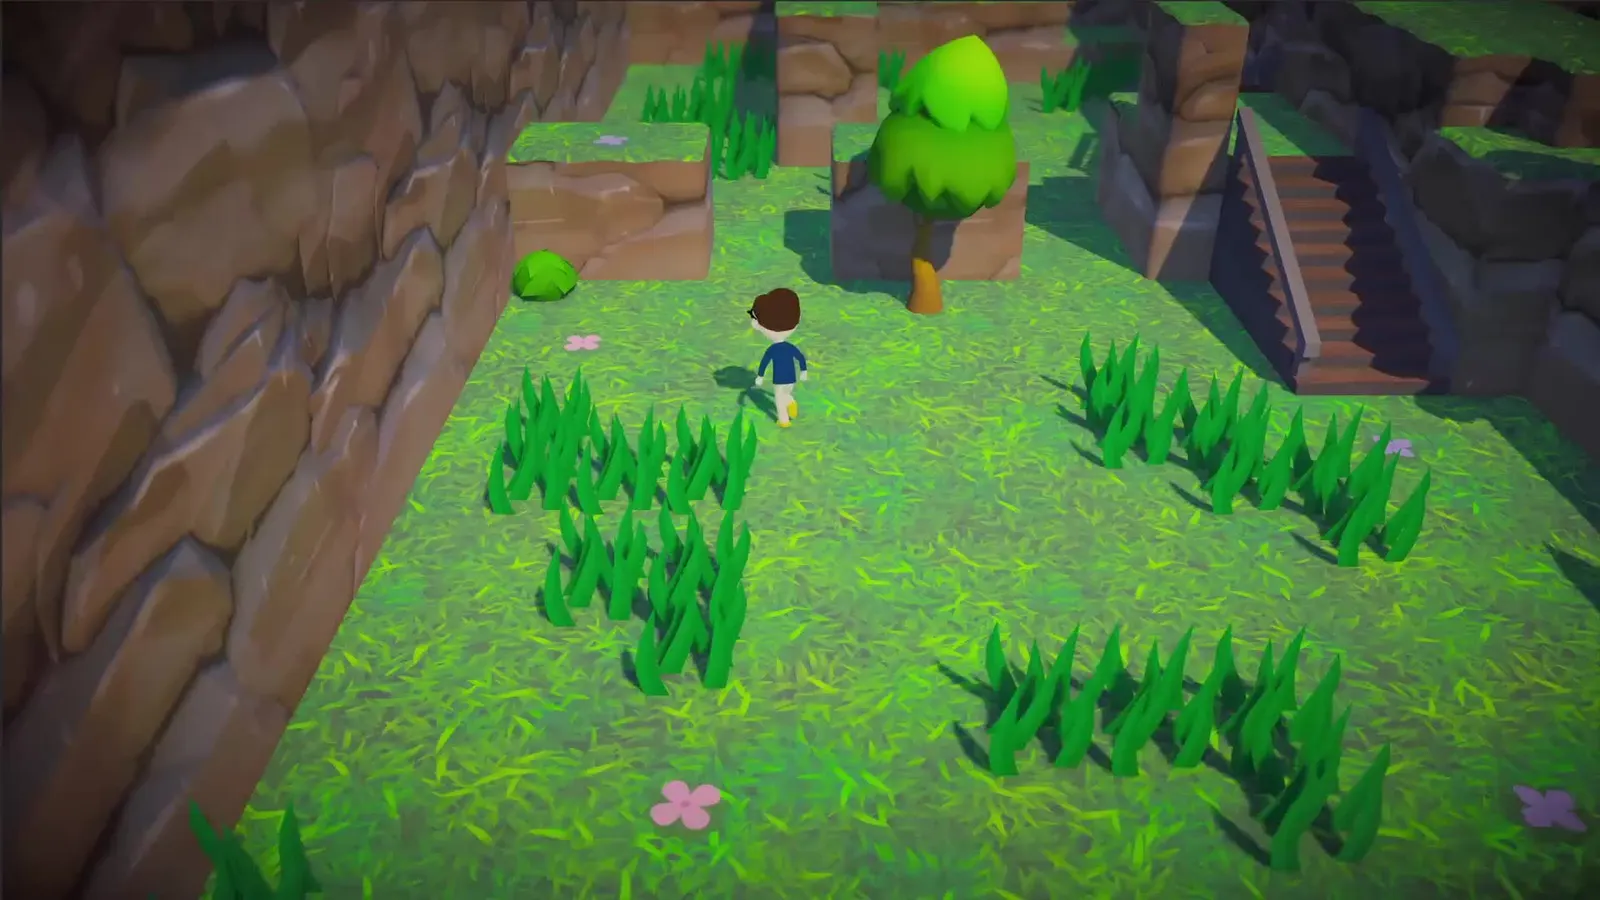
Early trap cheat sheet
| Trap | Sense cue | Wait for | Then |
|---|---|---|---|
| Swinging branch | Lean + draw-back | Branch hits ground | Walk through the arc |
| Revolver tree | Barrel stops tracking | Muzzle flash | Step laterally |
| Turning gun tree | Barrel reaches far end | Shot leaves the lane | Cross behind it |
| Falling trunk | Trunk shift above stairs | Impact + dust | Climb over |
| Dirt ambush | Discolored patch | Eruption retracts | Cross the patch |
| Hollow log | Silhouette at exit | Ambusher commits | Walk through the open side |
| Tree-for-fall | Creak + lean | Trunk lands | Climb over |
Three drills that make the rest of the game easier
The stop-start drill. On any new screen, walk in taps rather than a hold. You will trigger fewer traps at the wrong moment and see more wind-ups.
The edge drill. Approach every object from the side, not the front. Most hitboxes are narrower than they look, and the side approach gives you an exit line.
The sound drill. Play one level with the music lowered and the effects raised. The game's audio tells are consistent, and learning them is faster than learning every layout.
Common early-game mistakes
- Running from a checkpoint to prove you can. The respawn is short; the walk back is not the problem. The problem is arriving at the next trap with no patience left.
- Chasing every coin. The first coin side path is safe, but later coins sit past the safe line. If a coin requires you to stand under a tree, skip it.
- Reading signs up close. The WATCHOUT achievement exists because reading can kill you. Read from a distance.
- Assuming a safe patch stays safe. Normal mode can shuffle hazards after death.
When to move on
If you can clear the swinging tree, the gun corridor and the tree-for-fall without dying, you are ready for chapter 2. The midgame traps page→ covers the reversed signs, exploding apples and the rolling sphere.
If you are still dying to the first tree, read the beginner guide→. It explains the bait-and-recover loop in more detail.
Official source: Steam update, June 19, 2026 ↗ — the added checkpoint before the tree-for-fall and the demo's difficulty options.
FAQ
Which early trap kills the most players? The public achievement data suggests the palm and sign traps are common, but the opening swinging tree is the first wall for most new players.
Can I skip the first checkpoint? Yes, but there is no reason to. It is on the main path and costs nothing.
Is the tree-for-fall random? No. It triggers on approach and the timing is consistent in the current build.
Does the dirt ambush always erupt? Not always. Normal mode can shuffle hazards. If it is inert, cross carefully and watch for a different trap.
Do traps reset when I die? The level resets to the checkpoint. Some hazard positions can change in normal mode.
Sources
- Steam update, June 19, 2026 ↗ — checkpoint and demo changes.
- Trees Hate You demo on Steam ↗ — demo scope.
- Official Tykenn FAQ ↗ — platforms and design notes.
- Steam achievements ↗ — WATCHOUT and related trap achievements.